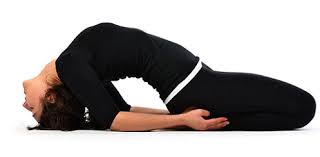
Natarajasana (Dancer Pose)
Table of Contents
What is a Natarajasana (Dancer Pose)?
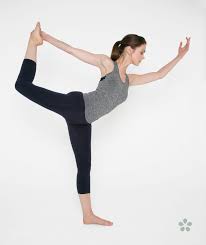
Natarajasana (Dancer Pose) is a graceful yoga pose that combines balance, strength, and flexibility. Named after Lord Shiva in his form as Nataraja, the cosmic dancer, this pose symbolizes grace and power.
It involves standing on one leg while the other leg is lifted and stretched back, with one hand holding the foot and the other extended forward. Natarajasana strengthens the legs, improves posture, enhances focus, and opens the chest and shoulders. It also promotes a sense of poise and mental stability, making it a favorite for those looking to blend physical challenge with inner harmony.
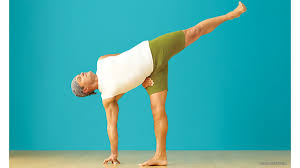
Natarajasana is a standing asana that requires balance and concentration.
Steps of Natarajasana (Dancer Pose)
First of all, get into the position of Tadasana
Inhale, and raise your left foot, in a way that your heel is placed towards the left buttock and your knees are bent. Your whole body weight must be put on your right foot.
After that, push the wad (ball) of the right thigh bone into the hip joint, and draw the kneecap up so that you’re standing leg is solid and straight.
Keep your middle (torso) upright. Get a handle on the left foot from the outside with the left hand. You should ensure your lower back is not compacted. Along these lines, ensure your pubis is lifted towards your navel. Furthermore, as you do that, press your tailbone to the floor.
Start to lift your left foot up, far from the floor and back, far from your middle. Develop the left thigh behind you and parallel to the floor. Now extend your right arm forward with the end goal that it is parallel to the floor.
Remain in this pose for about 20 to 30 seconds.
Now get back to your initial pose and this process with your alternative leg.
Natarajasana (Dancer Pose) Youtube Video
Benefits of Natarajasana (Dancer Pose)
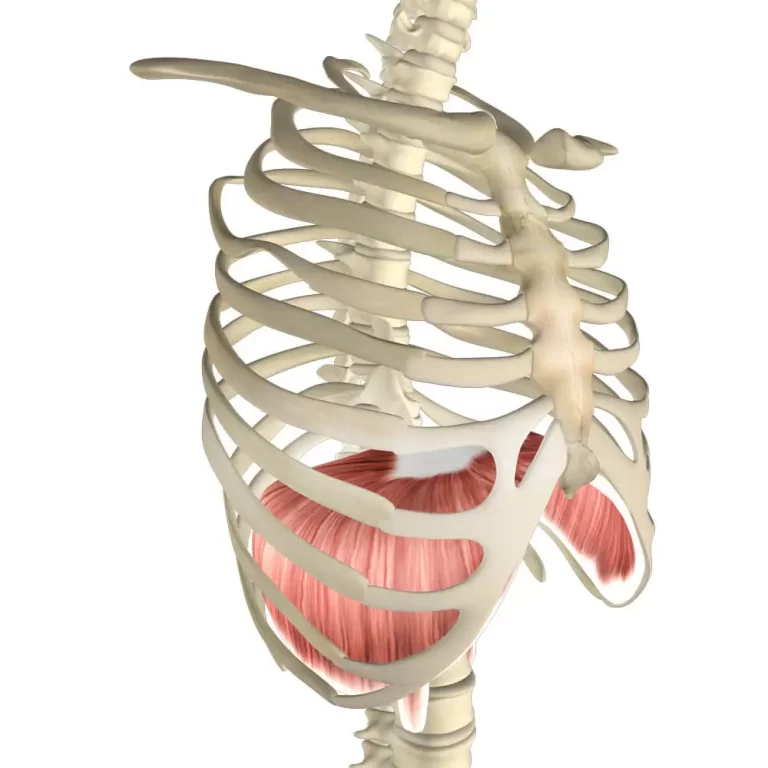
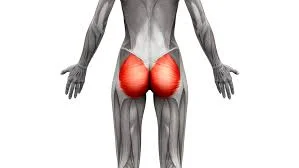
Gives strength to your chest region, legs, ankles, and hips.
Natarajasana Stretches your Shoulders, Abdomen, Groin, Thorax, Thighs and
Helps in weight loss and boosts your metabolism.
From this pose, your body posture is improved.
Lord of the Dance Pose Improves your digestion.
Stress busters and calms your mind.
Increases flexibility in your body.
Strengthens:
Ankle, Leg.
Stretches:
Thorax, Abdomen, Inguinal region, Thigh, Shoulder.
Pose type:-
Balance, Backbend, Standing, Chest opener.
Modification:
Someone who wants to master this pose should ideally work on practicing the first level of this pose, which is a simple raising of the leg by holding it from behind with your arms. To go deeper some of the modifications are stated below to make the pose far easier.
Using the wall for balance is the best way to get deeper into the pose or you could have a partner to help you support while the balance is stable.
If the legs can’t be raised high up due to less flexibility at the lower back and arms, one could use a yoga strap to wrap it around the ankle and draw the leg towards you by picking the strap upwards. But make sure this is done with the guidance of a teacher.
If the hips are not flexible enough, one could start the practice by bringing the foot into your elbow, twisting the lower back a bit, and then raising the leg supporting it within this elbow and begin to practice remaining here for a few breaths to gain more confidence with the full twist of the hip.
For a better stretch, one could place the shin that is bent, against the wall to get a better grip of the toes to go into the pose.
Contraindication of Natarajasana (Dancer Pose)
This asana is considered to be an advanced-level pose and certainly should not be practiced without proper step-by-step guidance.
This pose as such has very few contraindications, meaning, as it requires tremendous flexibility to take the thighs upwards bringing it parallel to the floor, it is generally only practiced if one has strong legs and a strong lower back. So to be avoided by anyone having injury anywhere in the body.
Someone suffering from a slipped disc should avoid this completely. As a lot of pressure is felt in the lower back.
Someone with carpal tunnel syndrome should avoid this pose as the wrists are twisted to grab the toes to help bring the leg high.