
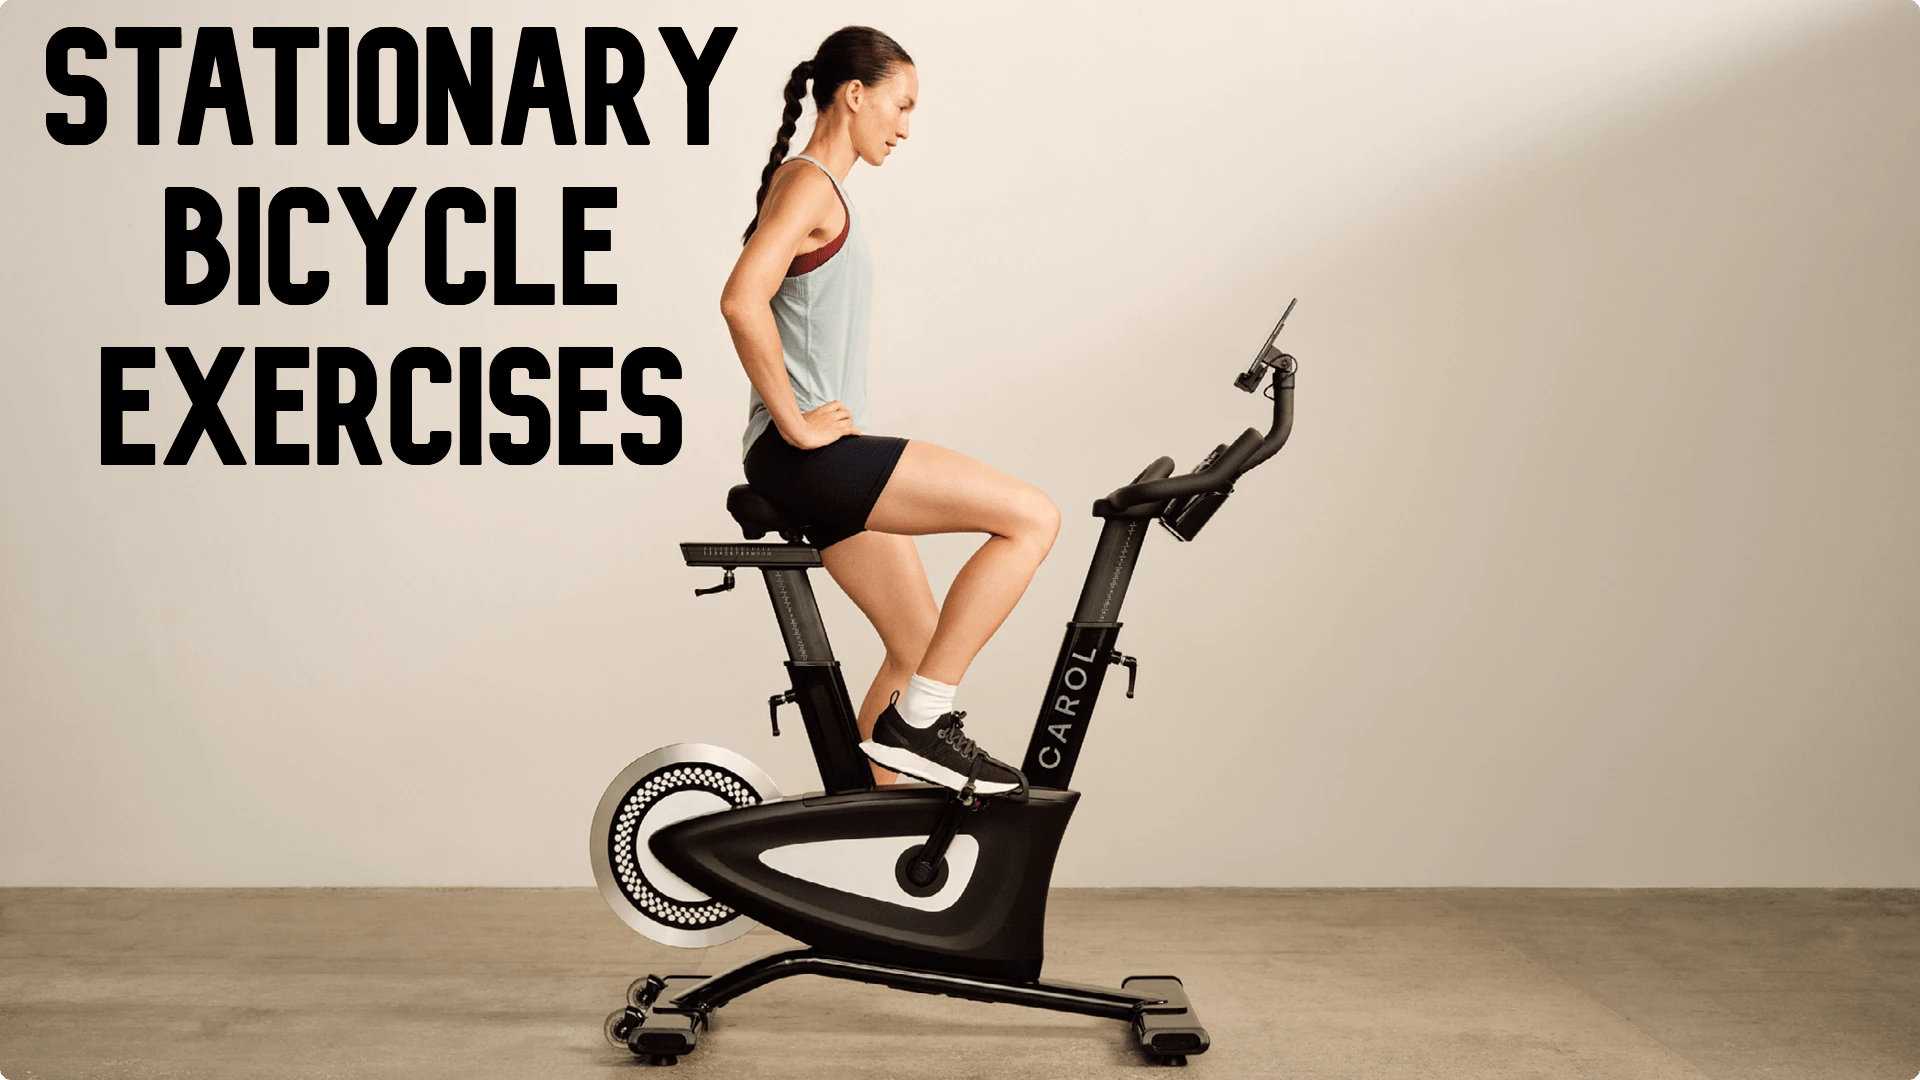
Stationary Bicycle Exercises
Table of Contents
Introduction
- Regular use of a stationary bike has several benefits for your cardiovascular health, lower body muscles, and general well-being.
- You can strengthen your heart, lungs, and muscles while burning calories and body fat by riding a stationary exercise bike.
- A stationary bicycle offers a terrific aerobic workout while posing less of a strain on your joints than some other types of cardio equipment.
- Continue reading to find out more about the advantages of working out on a stationary bike and the different training regimens that can assist you in achieving your fitness or weight loss objectives.
Benefits of a stationary bike workout
Boosts cardio fitness
- Riding a bike is a great way to increase heart rate.
- Exercises that are aerobic or cardiovascular, like cycling, build your muscles, lungs, and heart.
- They also facilitate better blood and oxygen circulation throughout the body.
This in turn has several positive effects on your health, such as:
- improved memory and brain functioning
- lower blood pressure
- better sleep
- improved blood sugar levels
- a stronger immune system
- better mood
- lower stress levels
- more energy
Can help with weight loss
- A stationary bike workout can help you burn around 600 calories in an hour, depending on your body weight and activity intensity.
- Because of this, indoor cycling is a great way to work out and burn calories quickly.
- You must expend more calories than you consume in order to reduce weight.
Burns body fat
- Exercise at a high intensity can aid in fat loss by increasing strength and burning calories.
- A 2010 study discovered that participants’ body weight and body fat might be effectively decreased by combining indoor cycling with a low-calorie diet.
- It was also successful in reducing triglyceride and cholesterol levels.
- The participants cycled for 45 minutes three times each week, and they consumed 1,200 calories per day for 12 weeks.
Provides a low-impact workout
- A low-impact exercise that strengthens bones and joints without putting a lot of strain on them is riding a stationary bike.
- Because of this, it’s a fantastic exercise choice for those who have injuries or joint problems.
- Running, jogging, jumping, and other high-impact aerobic exercises can place a lot of stress on your ankles, knees, hips, and other joints.
- A stationary bike is friendlier to your joints because your feet don’t come off the pedals, but it still offers a strenuous and efficient workout.
Strengthens legs and lower body muscles
- Your legs and lower body can get stronger by riding a stationary bike, especially if you choose a higher resistance.
- You can develop stronger quadriceps, hamstrings, and calves by pedaling.
- It can also strengthen your back, glutes, and core muscles.
- You may strengthen your upper body muscles, such as your biceps, triceps, and shoulders, by riding a bicycle with grips.
Allows for interval training
- Your legs and lower body can get stronger by riding a stationary bike, especially if you choose a higher resistance.
- You can develop stronger quadriceps, hamstrings, and calves by pedaling.
- It can also strengthen your back, glutes, and core muscles.
- You may strengthen your upper body muscles, such as your biceps, triceps, and shoulders, by riding a bicycle with grips.
Safer than road cycling
- Although riding a bicycle outside can be a terrific way to get exercise, there are a few risks to be aware of, like distracted drivers, uneven or slick roads, and low visibility.
- Additionally, it can be difficult to find the will to go outside in hot, muggy weather or in cold, damp weather.
- That may not even be a safe thing to do.
- You don’t have to worry about weather, traffic, or road conditions while you ride indoors.
- Any time of year is suitable for safe exercise at a reasonable temperature.
Stationary Bike Setup
- If this is your first time riding a bike, spend some time getting acquainted with its operation.
- Ask the floor manager if you may receive instruction on how to operate the various bikes and which one might be best for you if you’re at a gym.
- When standing behind an upright bike, the top of your hips should be level with the seat.
- When you reach the bottom of the pedal stroke, your knees should be slightly bent.
- To fit your height and reach, adjust the pedals, handles, and seat.
- Since you will be adjusting the resistance at different intervals during the workout, become familiar with how to do so.
How to Do the Workout
Once your bike is adjusted, begin with the warm-up and proceed through each exercise section.
- On a scale of 1 (easy) to 10 (very hard), choose a tempo and/or resistance that enables you to work at the recommended rate of perceived effort (RPE).
- RPE is the measure of effort required to perform at the selected level of resistance.
- Reduce the resistance and pace if it becomes too difficult.
- Raise the resistance if it’s too simple.
- If you’re not used to riding a bike, your legs can tire out soon.
- Since endurance takes time to develop, keep going as long as you can and quit when you’re ready.
- You can increase the duration of each workout to progressively increase your strength and stamina.
Stationary Bike Workout for Beginners
To perform the following exercises:
- Warm up for five minutes first.
- For three minutes, up the pace and resistance.
- For two minutes, up the resistance and pace once more.
- For three minutes, reduce resistance to the baseline.
- For two minutes, up the resistance and tempo to just above baseline.
- For six minutes, reduce the resistance and tempo to cool down.
| Time (minutes) | Intensity/Pace | RPE |
| 5 | Start slowly and gradually increase the resistance. | 4 |
| 3 | Raising the resistance by one to four steps will cause you to exert more effort than you did during the warm-up. Although you should be able to converse, you should feel as though you are working. This is how you normally move. | 5 |
| 2 | Once more, up the resistance and/or pace until you’re working just a little bit harder than your baseline. | 5 to 6 |
| 3 | Return to your starting pace or lower the resistance. | 5 |
| 2 | Once again, up the resistance and/or pace until you’re working just a little bit harder than your starting point. | 5 to 6 |
| 5 | To cool down, reduce the resistance or tempo back to a level that is comfortable for you. | 4 |
Workout plans for different fitness levels
For beginners
When you’re just starting out, it’s important to start out slowly and increase your time and intensity bit by bit. As you increase your fitness, start with a 25–35 minute workout and work your way up, adding time in 1-minute increments.
This is an example of a beginner’s routine:
- Begin by pedaling slowly for five to ten minutes.
- Switch to medium intensity for 5 minutes, followed by:
- high intensity for 1-2 minutes
- medium intensity for 5 minutes
- high intensity for 1-2 minutes
- medium intensity for 5 minutes
- Finally, pedal for five minutes at a low effort.
For weight loss
This kind of exercise can be a smart addition to a weight loss program since it burns calories and body fat. It’s also a great choice if you want to swiftly change up the resistance levels.
Here’s a sample weight loss workout plan:
- Begin by pedaling slowly for five to ten minutes.
- Switch to medium intensity for 3-5 minutes.
- For the following twenty to thirty minutes, alternate between high intensity (1-3 minutes) and medium intensity (3-5 minutes).
- Cycle for five to ten minutes in a modest effort to cool down.
For interval training
After your fitness has increased, you might wish to use interval training to increase your strength and endurance.
An example of an interval training schedule is as follows:
- For ten minutes at a low effort, begin pedaling.
- Switch to medium intensity for 10 minutes, followed by:
- high intensity for 2 minutes
- low intensity for 2 minutes
- high intensity for 2 minutes
- low intensity for 2 minutes
- high intensity for 2 minutes
- For five to ten minutes, pedal gently to cool down.
You can gradually raise your intervals by one minute at a time.
Types of stationary bikes
- Stationary bikes come in three main varieties: upright, recumbent, and dual-action.
- They all have advantages that differ just a little.
- You can concentrate on just one cycle, or for additional variation, you can attempt all of them at different times, depending on your fitness level, joint health, and training objectives.
Upright bike
- The upright bike is among the most widely used varieties of stationary bikes.
- With the pedals beneath your torso, it resembles a standard bicycle.
- The upright bike works your legs and core muscles while giving you an excellent cardio workout.
- This bike can be used either way, depending on your preference.
- This bike’s upright position can strain your hands and wrists, which is a drawback.
- Additionally, the small seat may not be comfortable for extended workouts.
Recumbent bike
- When using a recumbent stationary bike, you take a comfy, reclining seat farther back from the pedals.
- Your lower back, joints, and upper body will be less stressed by this kind of bike.
- Because your body is completely supported, your workout may not be as strenuous.
- After your workout, you’ll also feel less exhausted and sore in your muscles.
- If you suffer from back discomfort, joint problems, or restricted mobility, a recumbent bike can be a smart choice. Additionally, it’s a safer choice for inexperienced exercisers or senior citizens.
Dual-action bike
- The most unlike a typical road bike is a dual-action bike.
- Its handlebars can be adjusted to target the muscles in your upper body.
- As a result, you can work out your upper body as well as your legs while pedaling.
Other types of bikes
- An upright bike and an indoor cycle bike, which is the most common choice in indoor cycling lessons, are comparable. On the other hand, the seat is raised.
- Another distinction is that a front-mounted, usually forty-pound weighted flywheel is used to generate resistance.
- You can change the resistance to mimic cycling into the wind or hills.
- A fan or air bike is a less popular kind of stationary bike.
- There are no preprogrammed settings on this bike. Rather, you pedal to generate resistance.
- The wheel blades revolve more quickly while you pedal, which increases resistance.
- Generally speaking, these bikes are less costly than other kinds of stationary bicycles.
Safety Tips & Precautions
Although riding a stationary bike is safer than riding one on the road, there are still several things to be aware of:
- Because of the repeated motion or bad form, you run the risk of experiencing muscular weariness or injury.
- If you don’t maintain proper balance, you could fall off the bike and hurt yourself.
Remember these safety precautions when working out on a stationary bike:
- Always adopt the good form and the right body alignment.
- Seek advice from a qualified personal trainer if you’re unclear on the proper form or position.
- If you experience any soreness or pains in your muscles after riding, stop and give your body some time to recuperate.
- Avoid going beyond and beyond your personal comfort zone, especially when riding in a group class.
- It’s not necessary to keep up with the group.
- Overexerting yourself can be risky, particularly if you’re just starting out with exercise.
- Talk to your doctor if you have concerns with your balance, blood pressure, or heart health to be sure a stationary bike workout is safe for you.
- It’s critical that your stationary bike be suited to your size when setting it up.
- You risk damage if you don’t adjust the settings to fit your body.
- Cycling is an injury-free, low-impact workout that is suitable for all fitness levels.
- See your physician before attempting this if you have lower back discomfort or any other health issues.
10-Minute Beginner HIIT Ride
- Warm-up for one minute: Tsiumis recommends using light resistance on a level surface at a rapid, easy pace.
- 4-minute block: Reduce your speed a little from the warm-up and boost your resistance to 3–5.
- Accelerate for 15 seconds.
- Revert to your baseline tempo for 45 seconds of recovery. Tsiumis informs us that if riding the full distance in the saddle is more comfortable, you have the option to recover from it.
- Four times through, repeat the set.
30-Minute Beginner Endurance Ride
- For the three-minute warm-up, Barton tells us to ride steadily at a moderate speed on a level road with very little resistance.
- 1 minute: Pick up the resistance to a moderate level while keeping the same speed.
- 1 minute: Riding out of the saddle, maintain a modest and consistent resistance.
- 1 minute: Get back into the saddle and keep your speed constant.
- 30 seconds: Reenter the saddle while maintaining your pace and resistance.
- After 2 minutes, return to the saddle while maintaining your resistance and tempo.
- 30 seconds: Reenter the saddle while maintaining your pace and resistance.
- Repeat the above four times, from the first minute to the last 30 seconds.
- 3 minutes: Recover on a level road with minimal resistance.
15-Minute Intermediate Warm-Up Ride
- Initial 3-minute warm-up: Maintain moderate resistance at RPMs of 80–90 while maintaining an RPE of 2-3.
- Step 5: Raise your level of resistance. maintain an RPE of 4-6 while alternating between riding in and out of the saddle once per minute at an RPM of 70–80.
- Block of 4 minutes: Lower your resistance. RPE of 4-6; raise and maintain RPMs between 80 and 90.
- Every thirty seconds, Alicea advises switching between getting in and out of the saddle.
- 3-minute cooldown: Continue lowering your resistance while maintaining an RPM range of 60–70 and an RPE of 2-3.
20-Minute Intermediate HIIT Ride
- Warm-up for 5 minutes: Ride at a moderate speed at an RPE of 4-6.
- “Perform fast push efforts out of the saddle and recoveries at a moderate pace in the saddle” is the directive for the 5-minute block.
- When you push, try to make an uncomfortable, gasping effort.
- To match or maintain your effort on each push is the objective (RPE 7–8).” The sequence is:
30-second push
60-second recovery
30-second push
60-second recovery
30-second push
60-second recovery
30-second push
- 2:30-minute recovery: Ride at a moderate speed and effort, aiming for a 2-3 RPE.
- 4:30-minute interval: The idea is to increase your pace and intensity as the intervals get shorter.
- This means that your “push efforts will decrease in length as you move through the block.”
- For your push intervals, aim for near maximum effort (RPE 8–9).” The order is as follows:
50-second push
45-second recovery
40-second push
45-second recovery
30-second push
45-second recovery
15-second push
3-minute cooldown: Ride at a moderate speed and effort, with a 2-3 RPE.
30-Minute Intermediate HIIT Ride
- Warm-up: Ride a flat route with very little resistance for three minutes.
- Five-minute interval: Barton instructs us to repeat these five times:
40-second sprint at moderate resistance
40 seconds at a moderate speed and with some resistance
- 9-minute block: Repeat the following 6 times:
The 45-second steady pace at moderate resistance in the saddle
The 45-second steady pace at heavy resistance out of the saddle
- 9-minute block: Repeat the following 9 times:
The 20-second steady pace at moderate resistance
40-second sprint at moderate resistance
3:30 cooldown: Ride on a flat road with very light resistance and easy pedaling.
30-Minute Intermediate Rhythm Ride
- Warm-up for 4 minutes: Ride on a level road while maintaining seat position and a resistance of 2-3.
- 3:30-minute block: Increase your resistance to 4–5, and alternate in/out of the saddle every 30 seconds.
- 3-minute block: Increase your resistance to 6–8. Tsiumis says to be out of the saddle for 60 seconds, then in the saddle for 30 seconds, and to repeat that twice so that you finish out of the saddle at the top of the hill.
- 4:30-minute block: Decrease your resistance to 4–5.
- Spend 60 seconds riding in the saddle and 30 seconds riding out of it.
- Repeat 3 times.
- For a 2-minute block, ride out of the saddle at a strong resistance of 7–9.
- One minute: Get back into the saddle at a steady speed.
- One minute: Remount the saddle while maintaining your speed.
- 2 minutes: Lighten your resistance down to 3–5.
- in or out of the saddle.
- 3-minute block: Increase your resistance back to 7–9.
- For the entire ride, spend three seconds on the saddle and thirty seconds out.
- For a 2-minute block, pick up the pace when you’re in or out of the saddle.
- 4-minute cooldown: Lighten your resistance to 2–3.
- Breathe deeply to lower your heart rate.
45-Minute Advanced Rhythm Ride
- Hold on to the rhythm the entire ride by letting the music’s beat determine your speed and resistance.
- Warm-up for three minutes: Ride at 90 to 105 rpm on a level road with little resistance.
- 8-minute climb: Ride at a heavy resistance with a steady climb at 60–70 rpm.
- 3-minute block: Lighten your resistance and ride at 90–105 rpm.
- Hold the rhythm in the saddle, and allow yourself to recover.
- 4-minute block: Cycle at moderate resistance and 70–80 rpm.
- As needed, enter and exit the saddle.
- 2:30-minute climb: Using heavy resistance, ride at a steady climb of 60–70 rpm, Do two 30-second pushes during this time.
- 3:20-minute recovery: Ease your resistance down to light and ride at 90–105 rpm.
- Stay in the saddle.
- 2:40-minute jog: Increase to moderate resistance and lower pace to 70–80 rpm.
- 3:30-minute climb: Use heavy resistance to ride at a steady climb, at 60–70 rpm.
- Strive to accomplish your heaviest ascent to date.
- 3-minute climb: Reduce resistance very slightly.
- Throughout this period, push for three times 15 seconds.
- 3:30-minute block: Use light resistance and a speed of 90–105 rpms as you recover in the saddle.
- 3:30-minute climb: Return to heavy resistance and a speed of 60–70 rpms.
- As needed, enter and exit the saddle.
- 3:30-minute jog: Lighten your resistance and perform two 40-second pushes during this time.
- 2-minute cooldown: Continue to reduce resistance while riding at a relaxed speed.
60-Minute Advanced Climb Ride
- The rider may choose to perform this exercise in or out of the saddle.
- You are welcome to vary it throughout, shifting positions as necessary.
- Warm-up for five minutes: Ride at a leisurely speed on a level road with 1-3 resistance.
- 7-minute block: Quickly increase resistance to 3-5.
- 5-minute block: Raise the resistance to 5-7 while moving at a moderate speed.
- 2-minute block: Raise the resistance to 7–9 while moving slowly and deliberately.
- In a 3-minute block, reduce resistance to 2-3 while moving quickly.
- 5-minute block: At a moderate pace, up the resistance to 4-6.
- 7-minute block: At a moderate tempo, increase resistance to 6–8 out of 10.
- 3-minute block: Work up to an 8–9 resistance level at a slow, deliberate pace.
- Two-minute block: Quickly reduce resistance to 2-3.
- In a 4-minute block, gradually increase the resistance to 3-5.
- 7-minute block: At a moderate speed, up the resistance to 5–7.
- 3-minute block: Raise the resistance to 7–9 while moving slowly and deliberately.
- 2-minute block: Work up to 8–10 resistance at a slow, deliberate pace.
- 5-minute cooldown: Reduce resistance to 2-3 while moving at a leisurely pace.
20-Minute Advanced HIIT Ride
- Warm-up for five minutes: Ride at a moderate speed and four to six intensities.
- Four-minute block: we push hard out of the saddle and recover moderately while in the saddle.
- When pushing, aim for almost maximal effort with an RPE of 8–9.
- Do the following during these four minutes:
15-second push
30-second recovery
30-second push
30-second recovery
45-second push
30-second recovery
60-second push
- For the 2-minute recovery, go slowly and at an easy RPE of 2-3.
- Step out of the saddle for two minutes. should gradually increase the resistance every 30 seconds in order to return to an RPE4-6 moderate pace and effort because doing so will aid in setting up the resistance you will encounter in your last block.
- The 4-minute burst of velocity Tabata: Perform all of your efforts while in the saddle, alternating between high- and low-intensity efforts.
- To adjust the intensity, change the pace or the resistance.
- Do the following during these four minutes:
20-second push at 70% of max effort, RPE 7
10-second recovery
20-second push at 70% of max effort, RPE 7
10-second recovery
20-second push at 80% of max effort, RPE 8
10-second recovery
20-second push at 80% of max effort, RPE 8
10-second recovery
20-second push at 90% of max effort, RPE 9
10-second recovery
20-second push at 90% of max effort, RPE 9
10-second recovery
20-second push at 100% of max effort, RPE 10
10-second recovery
20-second push at 100% of max effort, RPE 10
10-second recovery
- 3-minute cooldown: Slow to an easy pace and intensity, with an RPE of 2–3.
All-Level 20-Minute Recovery Ride
- Warm up for two minutes by pedaling steadily and easily without any resistance.
- After three minutes, up the resistance to light and maintain a constant speed.
- After two minutes, up the resistance to moderate while maintaining a constant speed.
- After two minutes, resume gentle resistance at the same consistent speed.
- 1:30 minutes: Barton tells us to pick up the tempo to a faster one, but to maintain the mild resistance.
- After two minutes, up the resistance to moderate while maintaining a faster, more constant pace.
- 30 seconds: Without adjusting anything, get out of the seat.
- After two minutes, return to the saddle at a steady pace and with mild resistance.
- 2-minute cooldown: Finish on a level path with minimal resistance.
There is a stationary ride out there that’s ideal for you, regardless of your level of fitness. These rides vary greatly in terms of length, intricacy, and difficulty. If you’ve never ridden a stationary bike before, take it calm and easy with a little intro spin. Try one of these more difficult routes if you’re already an experienced rider; the full 60-minute and climb-intensive rides will definitely work you out.
Conclusion
Riding a bicycle indoors might assist you in achieving your fitness goals regardless of the weather. The stationary bike has numerous cardiovascular advantages, but it can also help you build muscle, reduce weight, and burn fat without harming your joints.
Track your development over time with an app or notebook so you can monitor your progress and maintain motivation. If you’ve never exercised before, are taking medication, or have any medical concerns, see your doctor before beginning any exercise program.
FAQ
When you first start out, you may wonder, “How long is a good workout on a stationary bike?” The answer would be anywhere from ten to thirty minutes a day. Initially, you should be more concerned with increasing your endurance for longer rides than with maintaining the level of exertion required to burn calories.
You can strengthen your heart, lungs, and muscles while burning calories and body fat by riding a stationary exercise bike. A stationary bicycle offers a terrific aerobic workout while posing less of a strain on your joints than some other types of cardio equipment.
Indeed, spending thirty minutes on a stationary bike can be a beneficial kind of exercise. It can enhance general fitness, strengthen leg muscles, and promote cardiovascular health.
Riding a bike can help reduce abdominal fat, but it will require some time. Regular cycling has been shown in a recent study to improve total fat loss and support a healthy weight. Moderate-intensity aerobic workouts, such as cycling (indoor or outdoor), effectively reduce belly fat and overall belly circumference.
To allow your muscles to relax, doctors advise using an exercise bike three to four times a week in addition to taking at least one day off. The activity of stationary biking will also appeal to you as an off-road rider. It is obvious that it will never be able to replicate the strength and technique work that is done on the ground.
References
- Cronkleton, E. (2019, July 12). 7 Great Benefits of a Stationary Bike Workout. Healthline. https://www.healthline.com/health/fitness-exercise/stationary-bike-workout
- Cpt, P. W. (2022, September 30). Stationary Bike Workout for Beginners. Verywell Fit. https://www.verywellfit.com/stationary-bike-workout-for-beginners-1230779
- Cnc, A. R. (2021, November 19). 10 Stationary Bike Workouts for Every Fitness Level. Byrdie. https://www.byrdie.com/stationary-bike-workouts-5185718


5 Comments